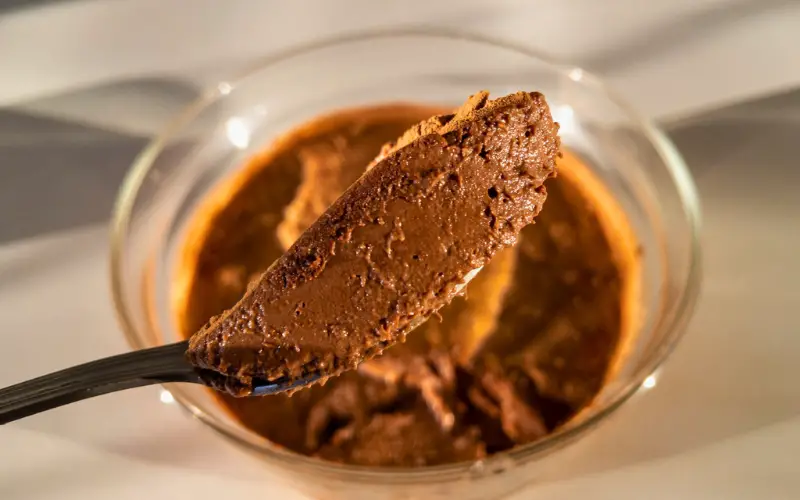
- Why you’ll love this recipe:
- Choosing ingredients: substitutions, types and benefits for this easy and healthy banana chocolate mousse
- Step-by-step guide for this healthy 2 ingredient banana chocolate mousse recipe (with images)
- Tips for an amazing recipe
- How long it lasts and how to store this lactose and gluten-free Banana Chocolate Mousse
- Here are some great options to serve with this recipe:
- Healthy Banana Chocolate Mousse Recipe
Looking for a healthy recipe that’s incredibly easy to prepare and requires just a few ingredients? Then, this 2-ingredient chocolate banana mousse recipe is perfect for you!
Why you’ll love this recipe:
- Yes, you read that right—it only takes 2 ingredients! You can whip up a delicious mousse with just 2 simple ingredients.
- This dessert is not only delicious but also healthy. Unlike many desserts loaded with sugar and fat, this dark chocolate mousse recipe offers a healthier and more balanced option. The banana used in the recipe brings numerous benefits, and if you opt for 70% cocoa chocolate, it’s not only delicious but also rich in antioxidants.
- Preparation is a breeze—it takes just 15 minutes to whip up the chocolate mousse in a blender, then pop it in the fridge to set, and voila, it’s ready!
- The beauty of this recipe is its versatility. If you’re not a fan of the banana flavor, you can adjust by adding more chocolate to mask it. Additionally, this mousse can serve as a delightful accompaniment to other desserts like yogurt or smoothies.
Choosing ingredients: substitutions, types and benefits for this easy and healthy banana chocolate mousse
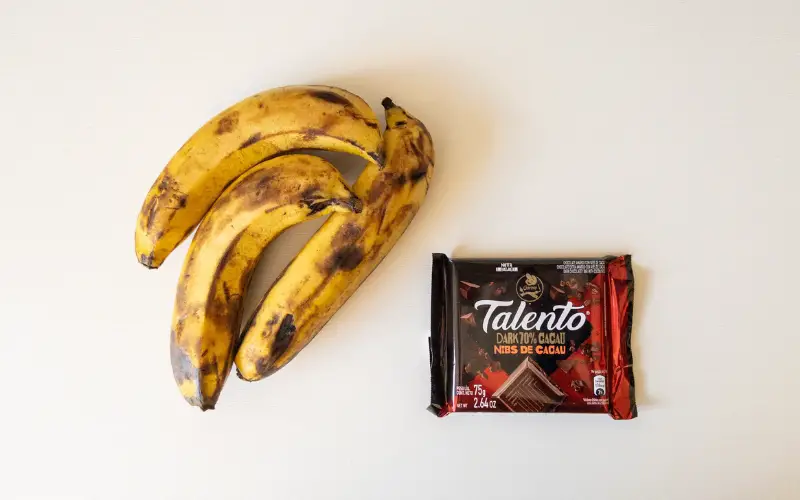
The quantities are listed in the instructions below and in the recipe card for printing at the end of the post.
Banana: Why banana? Well, I’ve got three great reasons for you. Firstly, it sweetens the recipe naturally. Secondly, it adds a healthy element. And thirdly, it contributes to an incredible consistency.
When selecting bananas for this recipe, feel free to use any you have on hand. Just keep in mind that the darker and more spotted the peel, the sweeter the banana will be, resulting in a sweeter final result.
Chocolate bar: Adding chocolate not only helps mask the banana taste but also sweetens the dark chocolate mousse.
I prefer using a 70% cocoa chocolate with cocoa nibs for a healthier and exceptionally delicious version.
However, if you prefer, you can use other types of chocolate, such as milk chocolate, although it will alter the nutritional value of the recipe.
Step-by-step guide for this healthy 2 ingredient banana chocolate mousse recipe (with images)
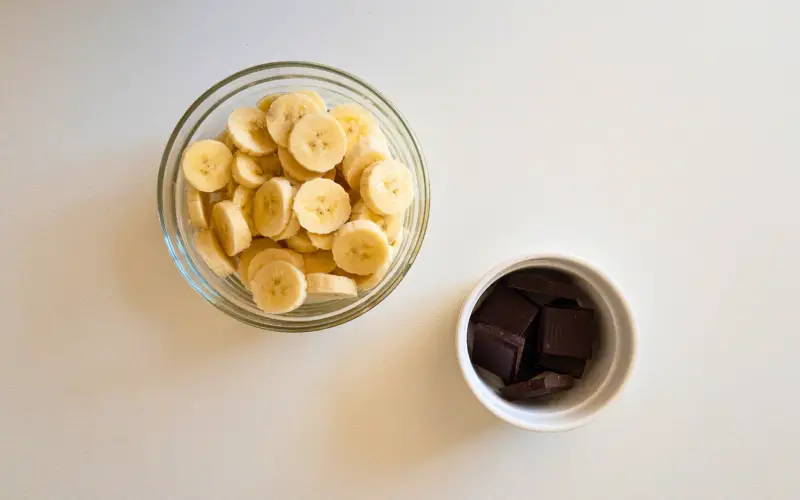
Step 1
Start by slicing 3 bananas into small pieces and chopping approximately 2.6 to 3.5 ounces of 70% cocoa chocolate bar into small pieces.
Step 2
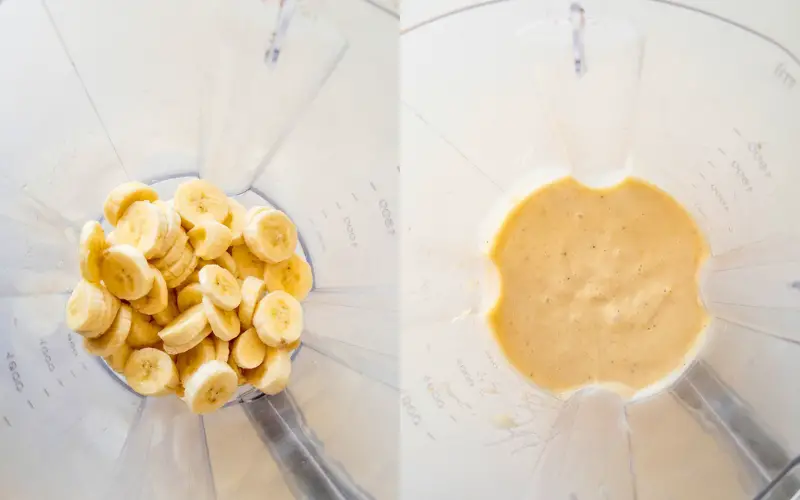
Add the bananas to a blender and blend until you achieve a smooth puree. The longer you blend, the smoother your mousse will become.
Step 3
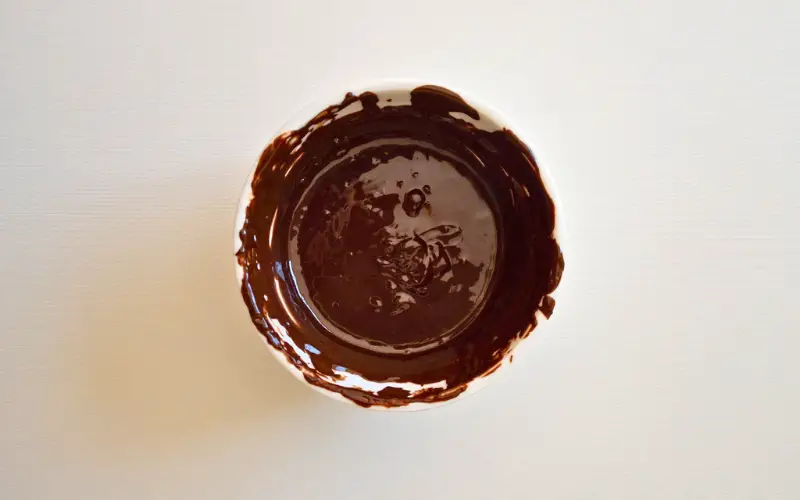
Next, place the chopped chocolate in a microwave-safe bowl and melt it in the microwave, stirring every 20 seconds until fully melted.
Step 4
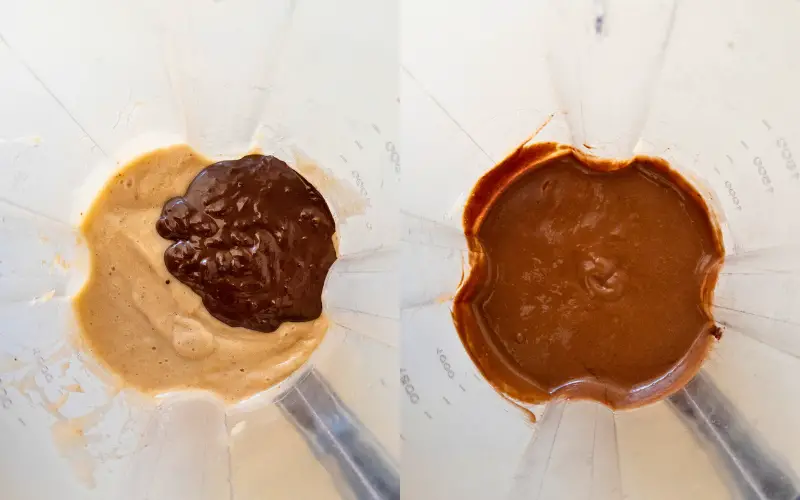
Add the melted chocolate to the mashed banana and blend until smooth.
Step 5
Pour the healthy chocolate banana mousse into a bowl. I recommend using a spatula when transferring it from the blender to ensure you can reach all the corners without wasting any.

Step 6
Refrigerate the mousse for 4 hours to allow it to firm up and achieve the desired texture.

Passo 7 (optional)
When serving, simply top it off with a sprinkle of grated chocolate or a dusting of cocoa powder for an extra touch.
Tips for an amazing recipe
If you’re not a fan of bananas, I suggest either doubling the amount of chocolate or halving the amount of bananas. Keep in mind that this adjustment will affect the final recipe’s quantity and nutritional content.
Feel free to use the chocolate of your preference. I opted for 70% cocoa for its health benefits and delightful taste.
Remember, the riper the banana (with a spottier peel), the sweeter your recipe will turn out.
When melting the chocolate in the microwave, be cautious not to burn it. Stirring and giving it a good mix every 20 seconds is crucial. Alternatively, you can melt the chocolate using a bain marie.
How long it lasts and how to store this lactose and gluten-free Banana Chocolate Mousse
To store the 2-ingredient chocolate mousse, you’ll require an airtight container or a jar with a secure seal, along with a piece of plastic wrap or parchment paper to cover the top.
Gently press the plastic wrap or parchment paper onto the surface of the mousse before sealing the container. This will help preserve its moisture. When properly stored in the fridge, this recipe should stay fresh for 2-3 days.
Here are some great options to serve with this recipe:
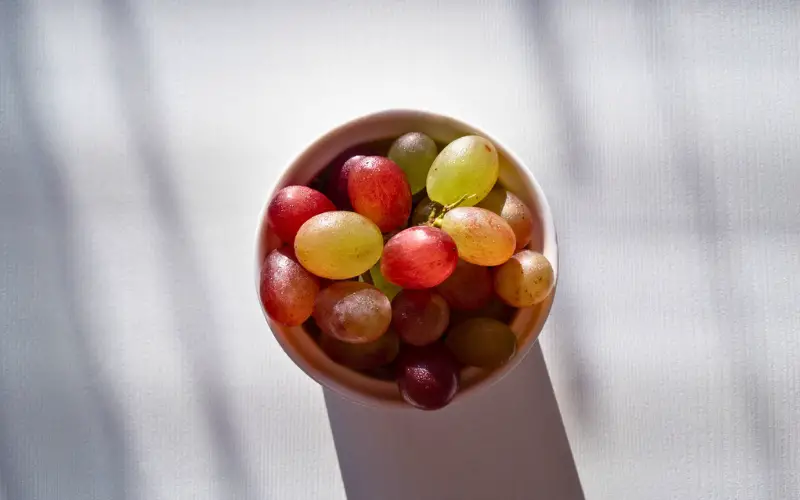
- While the traditional way to serve this recipe as a mousse is by itself, you can also enhance it by adding fruits like strawberries and grapes as accompaniments.
- For an extra touch in your smoothie, consider blending in a spoonful or two of this mousse; it also work as a creamy and sweet addition.
- You can also mix this mousse with natural yogurt and top it with granola for a delicious variation.
If you enjoy this recipe, you’ll probably like these as well:
Easy keto Flan: This recipe follows the same basic principles as the healthy banana and chocolate mousse—it’s healthy, requires minimal ingredients, and is lightning-fast to prepare (microwave option).
Avocado Mousse: If you enjoyed the banana mousse, you’ll adore this avocado mousse. It’s incredibly healthy and delightfully sweet.
Healthy Nutella Alternative: This hazelnut cream is fantastic and can be utilized in various recipes,
Peanut Butter: Are you a fan of simple, healthy recipes? If yes, just like me, then you should check out this recipe.
This recipe is…
A Healthy, lactose and gluten free banana and chocolate blender dessert with just 2 ingredients!
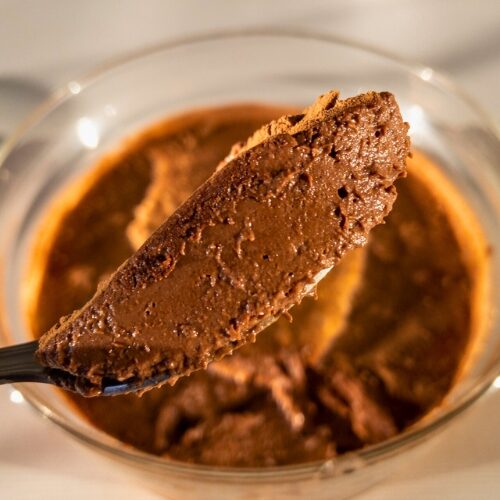
Healthy Banana Chocolate Mousse Recipe
INGREDIENTS
- 3 ripe bananas
- 2.6 to 3.5 ounces of 70% cocoa chocolate bar
INSTRUCTIONS
- Slice the bananas and blend until smooth.
- Melt the chocolate and add it to the blender along with the banana.
- Blend again until smooth.
- Transfer to a container.
- Refrigerate for 4 hours before serving
NOTES
Disclaimer: Please note that this post may contain affiliate links and A.I. assistance.